 Login
Login Register


Create a tattoo
Tools: TXD Workshop and Photoshop (or any other graphics program)
Tutorial author: Beck
This tutorial explains how to edit an existing tattoo using Photoshop.
- Run TXD Workshop and click Open IMG.
- Select player.img file located in models folder.
- This file contains all tattoo textures and a lot of other things we don't need in this tutorial.
- To find the tattoos type 10ls in the box below the list
- All the textures that follow 10ls are tattoos, but to see them you have to select Alpha/Mask on the bottom-right.
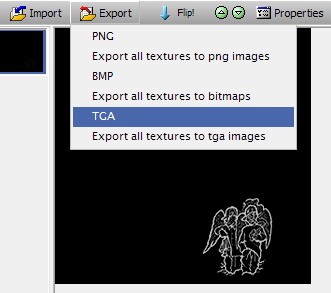
- Choose the tattoo you want to replace and click Export in TGA format, save the image anywhere.
- Now run Photoshop and open the image exported earlier.
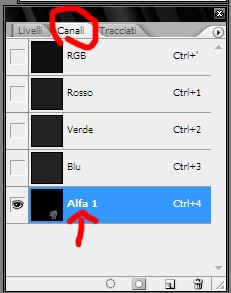
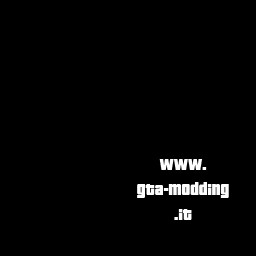
- The image will be all black (color of the tattoo), click on Channels to the right, then select Alpha to see the tattoo.
- To make your own tattoo delete the old one (always in alpha channel) and paint a new one with white colour (the colour of the tattoo is given by the other channel).
- Now click File>Save As and save it in TGA format.
- Go back to TXD Workshop and click Import and select your TGA image.
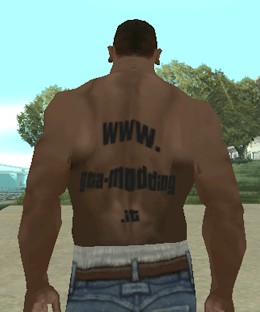
- Click on Save TXD and run the game.

Advertisements