Add neon on a vehicle (3dsm)
Tools: 3D Studio Max, Kam's Scripts, Dexx Tool, RW Analyze
Tutorial author: u505, revisited by Giorgio91, FunGt and Neos7
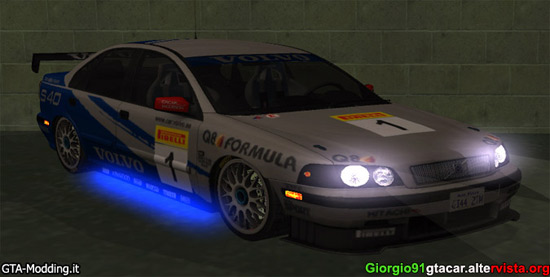
This tutorial explains how to add neon to a vehicle using 3D Studio Max.
Before following this guide be sure to have Kam's scripts installed on 3dsm. It is also needed a good skill with 3D Studio Max.
- Extract dextool_release directly on scripts folder of 3dsm.
- Run 3DSM and click on Max Script->Run Script and select 2dfxrevise_release.ms file from scripts\dexx_gta\ folder.
- On the next window set the values like this screen:
- Import a DFF with DFF IO script.
- Advice: hide chassic_vlo from the view right-clickin on it->Hide selection.
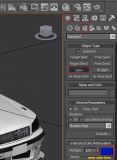
- Click Create -> Lights -> Omni and then on bottom-right click the white square.
- Now choose the neon colour.
- Click on a car part or anywhere you want to add the neon.
- After you created the first Omni there should be a cube in the view, right click it->Clone, then select Copy and OK. Move that second cube near the first. Repeat the operation till you have a cube line like this screen:
- Now press H and select all Omni.
- On the script window opened at the beginning click on Apply to Lights
- After you selected all Omni items, right click->Clone, then move them on the other side of the car.
- Press H and select all Omni, then click on window script on Add Light Info (Light), then Add Particle Info (Dummy) and finally on Export Info
- It will asks you to save a file, save it anywhere with any name.
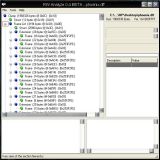
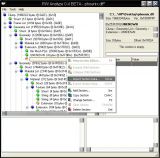
- Run RW Analyze, click on File>Open and select the dff of the car imported in 3dsm.
- Now like the screen click on minus (-)
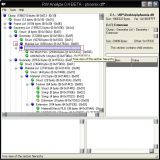
- Keep following the red marked parts.
- On the red part, right click and Add section
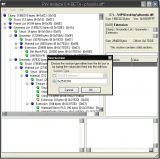
- Like the screen write that number and then click OK.
- On the new field right click and choose Import section data
- Now select the .sae file exported earlier with 3dsm.
- Click File>Save and import the new dff on gta3.img.



Advertisements
 Login
Login Register


